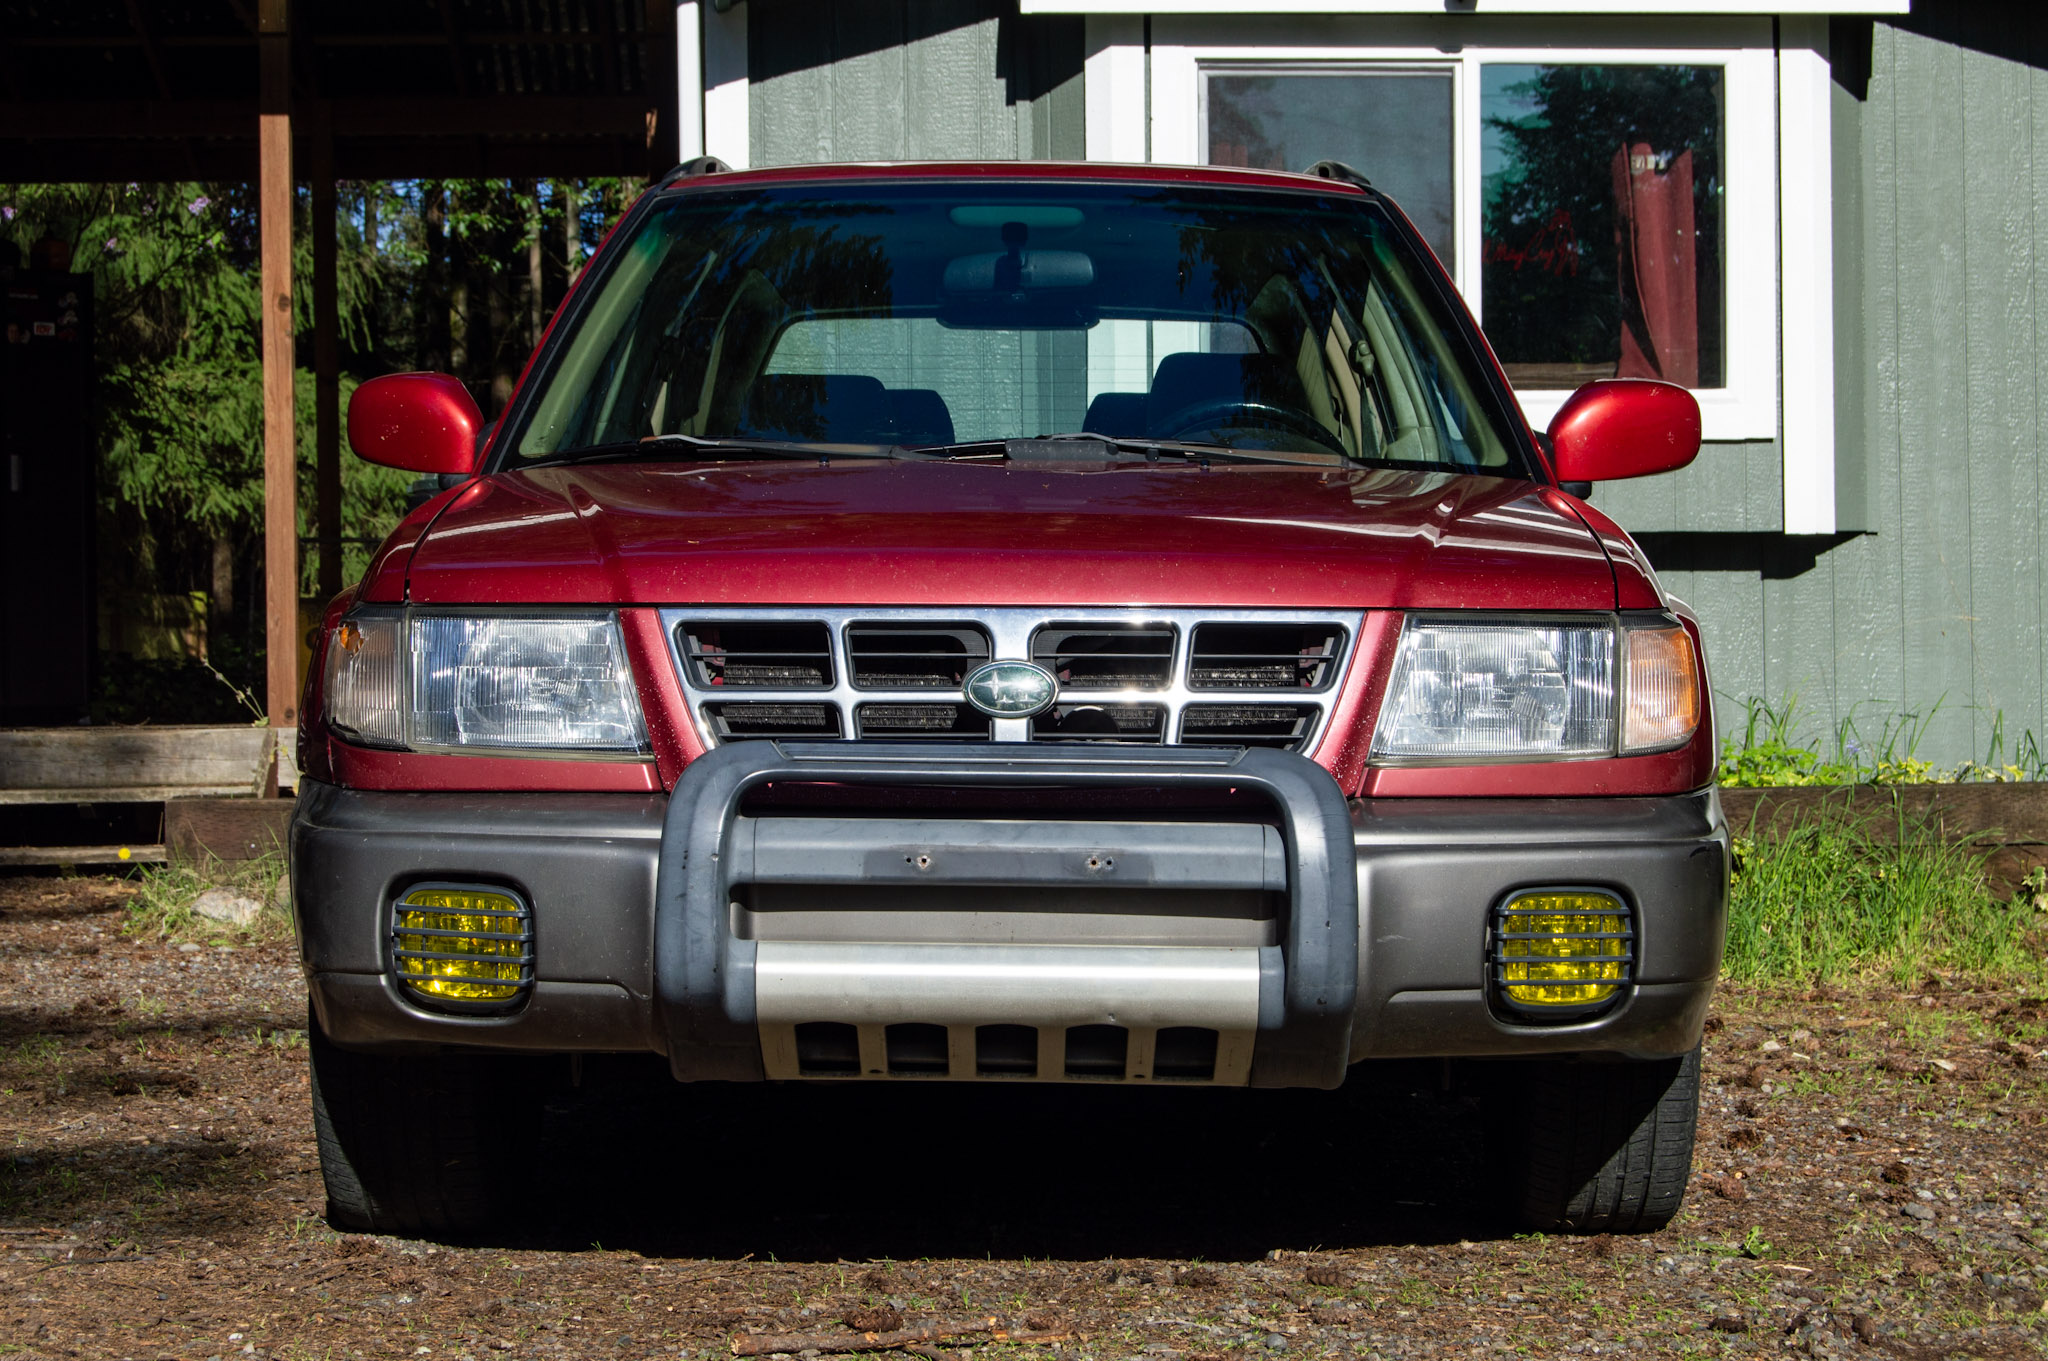


Sometimes I just have that masculine urge to take my car apart. This time, it was for a multiple-part repair and upgrade! Bimmy needs new bumpers, and since I have decided to make her more off-road oriented while maintaining an OEM+ vibe, she needed a factory upgrade to go with.
Enter: the Subaru Forester Brush Guard, or Bull Bar, or Push Bar. I’m not really sure what Subaru officially called it, as information about these guards is actually rather sparce. I don’t even know the official part number, just the associated stamping on the back: PP-GF20. As far as I am aware, they only came in unpainted ABS – so no lucky color matched bar for me unless I do it myself.

I managed to find someone selling a bar with a bumper in Oregon. I feel incredibly lucky with this find: the bumper was already color matched (from another S) and in great shape (for its age). So after a little haggling, we hopped in the Forester and picked it up!
Removing the front bumper on the Forester is pretty straight-foward. I took a couple photos to demonstrate the bolts and tabs and clips that you have to remove to swap bumpers. Most of them are just pry-up clips but you have to remove the headlights and corner lights to get at those. I didn’t take any photos of how to remove the headlights but there are obvious 10mm bolts once you remove the center grill, which should just be held on with pop clips (use a long skinny flathead to help with them, or you will break them), and the turn signal housings are held on by one phillips/jis screw and then you have to pop or pull them forwards to remove them. The under-eye lids are the hardest part to remove properly, but they are also just held in with clip tabs. Once you’ve got those, you have access to all of the hidden bolts for the headlights.


See the pop clips that I was talking about? They were really brittle on my car, so I had to be extra careful not to break them.
There’s also a bolt on each corner of the bumper, under the fender liner, which you can almost see in one of the photos below. You can remove the two pop clips on the bottom to free up the fender liner to access that bolt. You have to remove the pop clips anyway to remove the front bumper. And while you’re down there, might as well remove the pop clips near the tow hooks too since they’re right there.


Then the fog lights have to come out. If you have the fog light grills, they are easy to just pop off, but don’t pry too hard. There are a couple screws to undo so pull them out. These screws are technically the adjuster screws, but if you undo them then you can slip the fog light down and out, since they only use a retaining tab on the top to hold them in. You’ll need a long skinny jis or phillips screwdriver to undo them.


One last pop clip in the very center, and the bumper should just pop off. It does require a little tugging because it sits slightly pinched from factory, but it should just kind of slip out.
If you aren’t installing this brush guard on a bumper that originally came with the brush guard, you will have to drill two holes for the upper mounts, by the way, or it will squish and damage the bumper.
Installation is the reverse of removal, and before you know it you’ve got a funky cool new bumper and guard! The bumper guard is bolted directly to the bumper and then through the top of the bumper support bar. There are supposed to be factory bolt covers on the upper part of the brush guard, but mine did not come with them, so my bolts are just exposed to the elements. I used expanding rubber plugs to hold mine in and had to shave the sides of the washers that I got so they would slot into the holes just right, but it works! I really like the look of the brush guard on my Forester, especially with wanting to be an oem+ off-road build. I’ll get to the lift and tires and things one of these days.


And yes, I have replaced the broken turn signal housing, please don’t be mad at me.