
Welcome to the ITB Write-Up by Nostalgiahero.

Introduction
I’ve never done a write-up. I expect a lot of you reading will not agree with my methods or conclusions. I’m a little bottle of jumbled knowledge and I’m just going to pour it out haphazardly, and hope it sticks, and helps you or anyone looking to go down this path. The purpose of this write-up is to share my knowledge and experience with people considering an ITB conversion on their Miata (or similar). It won’t be a “here’s a step-by-step guide on how to do the conversion”, as I feel like there is no blanket method for every individual car or set of throttles. But this should narrow it down and eliminate a lot of questions, and hopefully help with the whole process.
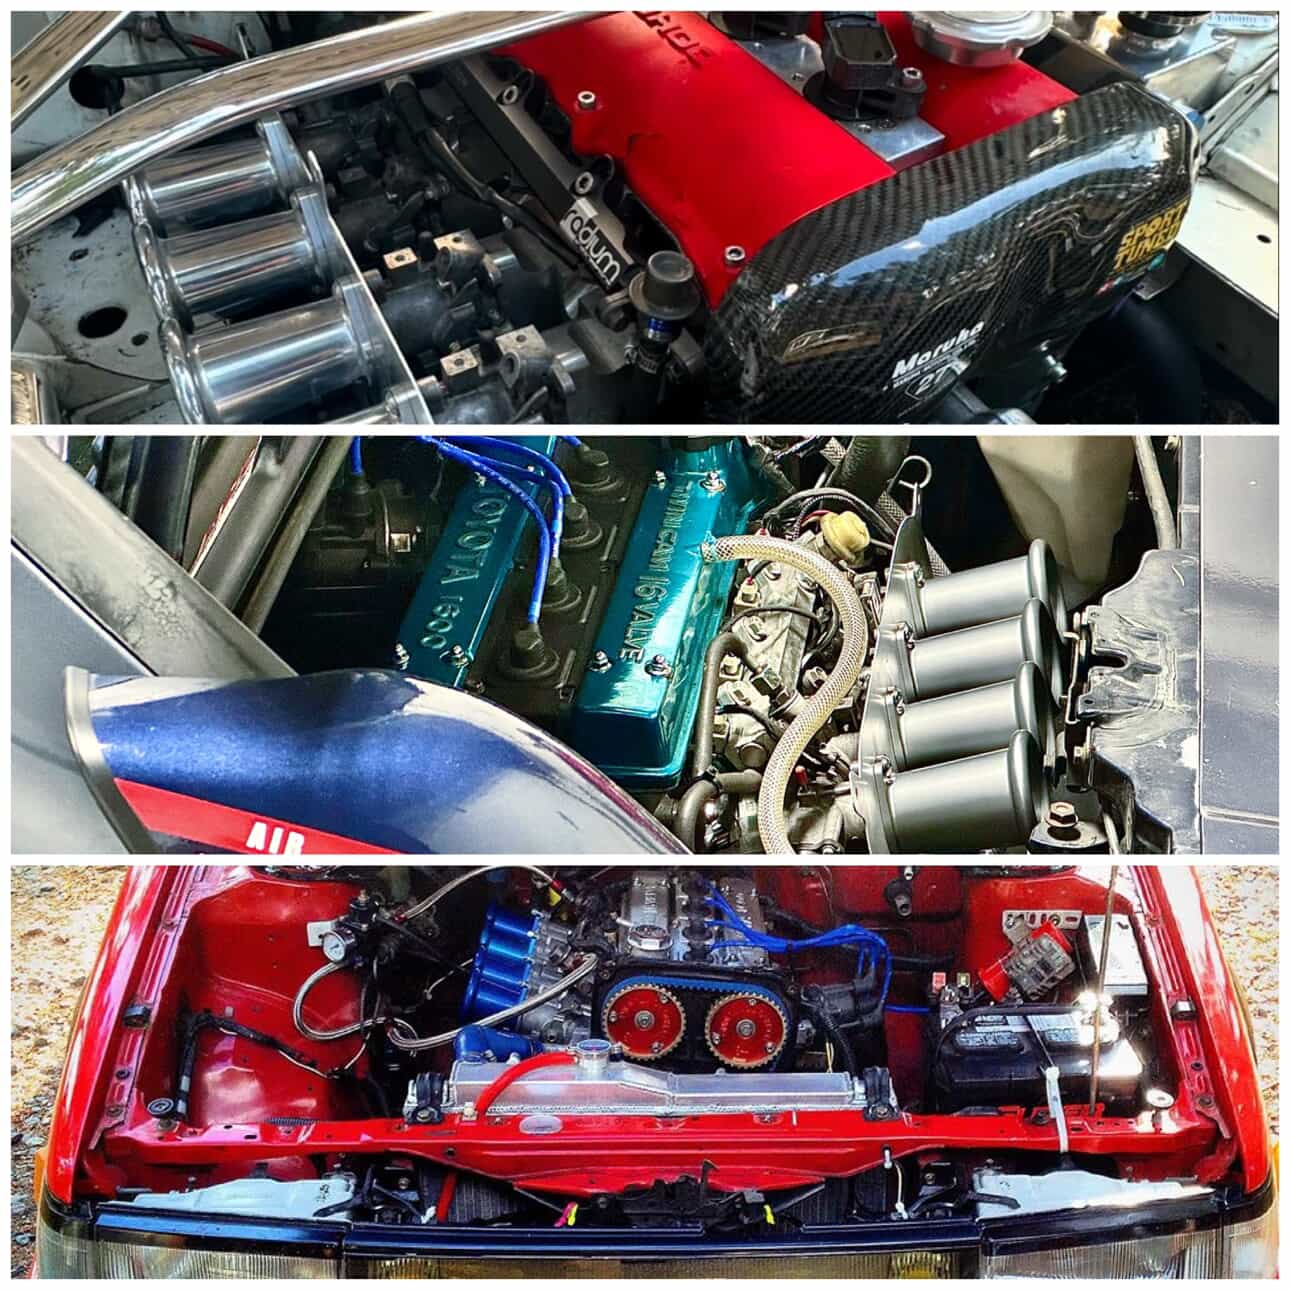
Let me start off with why you should (or shouldn’t) take my advice. I have done 3 ITB conversions in my life so far, and have helped a good number of people with theirs to what I’d cautiously say is “great” success. One being my own Miata, Minnow. I have learned the most from this one, and have daily driven it for over 7 years with the ITBs attached, achieving around a 26-32 mpg average. It starts everyday, regardless of the weather, and idles true. I’ve also done a conversion and engine build on my ’87 MR2 Misato. This was a first for me as almost no information was available for this chassis running an ITB 16v. This included a custom harness conversion using Microsquirt, with lots and lots of trial and error, and we made a fun video on the process and you can watch it here. It continues to run with its current owner, and we drove it many many thousands of miles reliably with minimal issues. And the last one was my JDM AE86 Levin, which was running the stock ecu with a fuel pressure regulator and various bits and bobs to keep it happy. You may have seen the Youtube video of this car jamming out on some backroads. I’m not an expert, and I don’t want to come off as an all-knowing ITB entity, I’m only sharing what I know to be true from my personal experiences. I’m writing this at the request of quite a lot of Instagram friends and people I’ve encountered with various questions. I wanted a write-up I could link to, where I have organized my knowledge or lack thereof.

So take all of this info with a grain of salt, different people will have different experiences and difficulties based on a number of factors including but not limited to: Year/Make/Model; supporting modifications; brands; ITBs themselves; wiring harness, so on and so forth. With all of that being said, let’s get started!
The Great Filter
Let’s address the elephant in the room: a good Turbo or Supercharged build will almost always be cheaper, make more power, be easier to install, have more parts availability, and be easier to tune. Obviously this isn’t a blanket statement for all cases. If that doesn’t deter you, continue on. Some people have an idea of cost and execution in their head and are surprised when they find out the reality is far different. So I’ll throw out some bullet-points on my experience and the experience of the people I know, and you can prepare yourself from the journey and determine if your comfortable continuing.


Cost: Its usually much higher than what is anticipated. Usually take the number in your head and triple it. This is where I see a lot of people try to cut costs, by going with Bike ITBs or Carbs. Please don’t. If you want to do this correctly and have it run properly, spend the extra coin on a proper kit or conversion for 4AGE or similar ITBs. I have seen a lot of people regret that they went the bike carb route, just from a difficulty and extra work standpoint, and end up abandoning the project entirely because of it.


Power: You’re probably not going to gain what you think. I’d say on a stock motor with ITBs (properly) installed and tuned, you might gain 5-10, and lose some torque in the process. To really take advantage of what they can offer, you should be increasing the compression, putting some work into the head, and ideally installing some more aggressive camshafts. All that being said, I’d argue that with the OEM Squaretop intake manifold, you’d be about at the same power level, if not more on the same engine. The throttle response is where it really shines. That being said, it has to be perfect-perfectly tuned for you to start seeing these benefits. If throttle response is your goal, save yourself the headache and throw a lightweight flywheel in the thang and call it a day (do this anyways, its free real estate).

Tuning: This is the big one. Expect to shell out some big clams here, find a decent tuner, sell your firstborn and your black lotus, send it off and be done with it. And even then, sometimes they will get it wrong, as I’ve found myself correcting “professional tuners” mistakes. As a hobbyist, and someone who feels like they don’t know enough, this was surprising. Expect lots to go wrong, lots of trial and error, and then when you think it’s sorted, more will go wrong and you won’t know what it is. It took me a year (give or take) of almost daily tuning adjustments, Youtube videos, and trial and error to get my tune to the point where it feels almost like a factory car. This route is hard and it will test you, but I found it really rewarding in the long term, as I can fix most problems myself and help others with theirs.


Driveability: It’s going to suck for the first bit without your tune being dialed in. Expect a lot of “wtf is going on” moments, poor fuel mileage, lack of power, trouble starting, so on and so forth. Even on my third build (MR2), when I thought I knew everything, it took me a long time for it to drive acceptably for me. Even after countless tuning sessions, I have still never gotten it perfect. Close, but never 100 percent like a stock car might function. For me, the fun is always improving it. Like any build it never truly ends; it feels like that with the tune as well.
Choosing the Right Set
My experience here is limited, as I’ve worked almost exclusively with the 4AG 20v throttle bodies paired with the long extinct Techno Toy Tuning (T3) adaptor plate. I have heard great things about the Jenvey ITB kit and the OBX knock-off of the 4AG kit. For me, I’ve always liked them. Spend the money; it will make your life easier in the long run. Like buying an eBay body kit vs a reputable one, when you’re balls deep into your 100th hour of sanding to correct fitment, you’ll wish you would have just bought that good one from the rip and eaten the cost. The same applies here. There’s no free lunch, you gotta put in the work or spend the money. Once again, please don’t go with bike carbs.

Velocity Stack Choice
Long.
I could end it there. But, the longer the better, for the most part. Plus, it sounds cooler. You like torque right? I’m assuming you’re running a little baby 4 cylinder engine like me, so we gotta take what we can get. I run 100mm stacks, but I assure you if I could run a longer set I would. T3 makes a good set, but make sure they will clear anything in your engine bay before just purchasing the longest you can fine, especially those of you with RHD cars where cold side clearances can be extra tight. I could ramble on about this but I’d rather link you to a fantastic video by another great ITB enjoyer, Sushpants, on velocity length changes and effects on performance.


Gathering the Ingredients
The “stuff” you’ll need for it to work. When I said get a legit kit, I meant it. You’ll immediately start seeing benefits, starting with less fetch quests for random bits and bobs that you didn’t realize you needed and now have to run around town trying to find or waiting for them to come in in the mail. Even when I thought I had everything sorted and organized, I needed like 10 more little things: a longer hose; a different plug; grinding this thing out of the way; making a bracket from scratch; so on and so forth. This is one of those things that step-by-step guides never seem to show.
But this isn’t a step-by-step guide. So this is just a little summary of some of the things you are going to need, not every little bit.

The ITBs themselves: We’ve been over this, get good ones, and once again, not bike carbs. Seriously. I know you have a friend who’s uncle’s cousin’s grandfather is running them and has never had any issues, but he’s lying. For every one running bike carb set-up, you have 99 failed attempts.
Thermal Intake Gasket: You’re going to have to replace your intake gasket anyways, this one is reusable and helped lower my intake temps noticeably. Not sure the wizardry that went into this material but this felt like a solid upgrade that I wish I would have installed the first go around.
ilter: Please get a filter. Don’t get the individual filters, and certainly don’t get the filters that sandwich between the velocity stacks and the throttles. I strongly recommend the Pipercross or any other type of sausage filter. Sushpants covers the power loss between different types of filters in his videos and the sausage filter lost almost no power against the other types. And I know you want to show those throttles off, and these ones come with quick release bolts and its the easiest to display. Look at my own photos. Trust me on this one, I ruined a perfectly good engine by not running a filter. Don’t be like me, get sausage.


Throttle Position Sensor: With included connector, depending on the application. I used OEM Toyota for this since I’m running Toyota ITBs, part number 89254-12080. Late ’90s, early ’00 Toyotas should have these, like old 4Runners, Supras, Toyota trucks. Don’t get a cheap off-brand one, get a Toyota one. This is important. Even a junkyard used Toyota one is likely going to be better than a shiny new Chinesium eBay one. Obviously also make sure it works. And I mean REALLY works. Pull out that voltmeter if you have to. Make sure you solder or crimp the wires correctly, you don’t want to screw this up. Especially with a TPS based tune, the littlest fluctuations can cause chaos in drive-ablility.
Vacuum Block: Important! This will provide vacuum to your brake booster, MAP sensor in your ecu, fuel pressure regulator, and any other vacuum powered accessories you’re planning on running.
Big ass Catch can: Without a vacuum source/functioning PCV pulling crank case pressure out of your valve cover, you’re going to get blow-by at high load/rpm. Once again, ask me how I know. Get something with two intake ports and one vent port. The bigger these ports the better, don’t get a coffee straw one. Think boba straw. Don’t just put a filter on your valve cover.
Standalone ECU: Once again, absolute need, non negotiable. What you decide to use is up to you, but I use the DIYPNP kit that no longer exists in Minnow. I’ve also used the Microsquirt, but that required an extensive harness merge and unless you’re very confident in your wiring prowess, I recommend a plug-and-play option like Megasquirt PNP2 or 3, Haltech, Beer Money Motorsports, LINK, etc. Get a loooong USB cable for tuning purposes as well. Mine is like 10 feet long and I wish it was longer, but it lives attached to my ECU and gets tucked behind the seat whenever I’m not using it.
Wideband o2 sensor: You can’t skip this, especially if you’re going aftermarket ECU. I run an AEM EUGO with great success. I’ve seen the Innovate ones have some issues, like Andi’s first wideband, which started having issues right out of the box and burnt itself after two-ish years. I trust the AEM, so that’s what I’m going to suggest.
Laptop with Tunerstudio*: *or whatever tuning software you need, especially if you’re doing it yourself. Important! Even if you’re just going to have it tuned by a “pro”, this is going to be important for making changes, logging pulls, diagnosing issues, looking at settings, so on and so forth. You’re spending the coin on the ecu, take advantage of what it can do for you. If you’re getting a TunerStudio-compatible ECU, do yourself a huge solid and purchase the Autotune function. I want to say this is necessary, but I suppose you could cut your lawn with scissors, although I’d just get the lawnmower.
Base Tune: More on this later but you’ll be DOA without a good starting point. One for a stock engine will be a good starting point. Tunerstudio’s website has links to good base tunes, that’s where I found mine for the BP and 4A engines.
Soldering iron: And a bunch of wires. Don’t use the crimps and butt connectors unless you know exactly what you’re doing. I’ve used the cheap crimpers and had to redo my wiring more than once. Do the wiring properly, and it will save you the headache of diagnosing futures problems, a lot of the tune is dependent on your wiring being solid, and you don’t want anything that can cause a fluctuation in the signal. Ask me how I know. Actually, I’ll just tell you: the exact things I’m warning you about has happened; learn from my mistakes.
Intake Air Temperature Sensor: GM IAT. This is what I use. There is also a wiring diagram here. It hasn’t let me down in all the years I’ve mistreated it.
Idle Air Control Valve: This is completely optional in my opinion. Some people use them with great success; I took the hard route and struggled for it. There are several kits for this, but I don’t have experience setting them up and I won’t be covering them in this write-up.
ARP Head Studs: Hear me out on this one, if you’re serious about your ITB builds longevity, these are a solid investment. The head will have to come off at some point if you’re doing valves, porting, head shaving, pistons, etc. The head has been off my engine probably 9 or so times in the years since I’ve installed my ITBs, and I’ve been thankful every time for these studs, and I’ve never had a head gasket leak on me. My good friend and beloved Miata figure, Adam at Revlimiter, has a great write up on these.
Motorcycle Carb balancer/Syncronizer: This is for when your engine is running, you’ll use it to measure the succ of each throttle, you want them to be equal. This can be adjusted by a screw on the flat surface of the throttles where the velocity stacks bolt on. Don’t mess with these screws until the engine is running, they could be in balance from the factory! I’ve had to rebalance mine twice since I’ve installed mine, but the idle is solid and this tool is a must have. This is the one I use.
Misc stuff: Set aside a little extra money in your budget for the things you’ll *discover* that you need along the way. Even if you think you have everything, there’s always extra stuff that ends up popping up. Remember when I was talking about fetch quests earlier?

Installation
Remember when I told you this isn’t a step-by-step? Well I’m reminding you of this now. I assume you’re mechanically inclined if you’re delving into a project like this. I’m just here to smooth out some of the bumps you may encounter during the process.
So first off, get your intake manifold out of the way, consider deleting anything you’re not going to need and clean up/tuck some of your wiring in the process. Make sure your grounds are solid of course. Consider how the wires are routed and make sure they are protected from rubbing through any of the components over long periods of time. It happened to me, and it was a pain to track these little problems down, so get ahead of it.
I use blue loctite to secure the throttles to the adaptor and the adaptor to the head. Mine worked themselves loose after about a year or so, but after using the loctite this was no longer an issue. Don’t bother installing your velocity stacks yet even though its tempting. You’ll need to balance the throttles first, but we need to get the engine running beforehand.

I have been able to use the stock throttle cable for all my applications except for the AE86, which was a bit short, although I attribute this to it being a RHD car, and I believe the USDM one may not have this issue. Make sure the cable has some deflection without activating the throttles. I run about a 1/2 inch of deflection. You don’t want too much slack though.
After installing the cable, grab a friend and have them watch the throttles while you actuate them with the throttle pedal. Make sure nothing is binding and more importantly make sure they are opening and closing all the way. With the AE101 throttles I am running on the Miata, I was not getting full travel from the throttles at WOT, and I had to bend the gas pedal up slightly to allow for full travel.
With the vacuum block, it’s pretty straight-forward: get it attached to the brake booster vacuum source, then one port to each of the throttle bodies, and one going to the MAP sensor in your ecu. You may need to get a vacuum block with more than six ports if you have other vacuum-operated accessories. Make sure the MAP sensor ine runs without getting pinched. Cap off any extra ports that you’re not using on your throttle bodies, and make sure you don’t miss any. Where you mount the block is up to you. I hid mine under the throttles, just make sure it doesn’t interfere with the throttle cable travel.

I am running the Rev9 Catch Can which I believe was built specifically for the purpose of ITB-ing. My compression ratio is 11:1, making managing crankcase pressure a problem at high rpm. To remedy this, I have removed the PCV valve and used the largest tubing I could fit over the ports on the valve cover. In addition to this, I drilled out and enlarged the ports INSIDE the valve cover where the baffles are, which allows more airflow through the baffles, and it corrected my blowby, even at high rpm. Its not a cure-all, but it worked for me.
I mounted my Air Intake Temperature Sensor directly in front of my throttles. This needs to be close to the stack openings, as it measures the temperature of the air going into the engine and sending it to the ECU. I can’t think of any reason to mount it anywhere else. You’ll tap into two wires for your AFM/MAF plug and run them to the GM IAT sensor.

For the ECU, I installed mine in the OEM location, and I don’t see any reason not to, just make sure it’s secure and grounded properly. Don’t forget that you have to run a vacuum line to the MAP sensor that lives in the ECU (if applicable).
Setting up Megasquirt has been covered extensively, and it doesn’t differ just because of the application. For this I’ll be directing you to the Miata Dad himself, Greg Peters at thecarpassionchannel. This video will cover setting up, and this one will help you get your car running before you even add your ITBs. Get that done, then come back.
There are settings that you should change immediately before even starting your car. Obviously this is going to be different for everyone, and this write-up is just about ITBs. First off, in Basic Engine/Control Settings > Engine And Sequential Settings > Control Algorithm, set this to Alpha-N. I know you saw that ITB mode, but don’t let it tempt you. I’m not the only one who has never got this working properly. I think this can be attributed to the lack of a stable vacuum reading at idle. So we’re gonna do TPS-based tuning as that’s what all my knowledge of ITB tuning revolves around, and that’s what everyone else I know is running. Set your required fuel next, look up your exact engine CC, number of cylinders, injector CC, and set the air fuel ratio to 14.7, then click okay.

If you’re running the Pipercross Filter, be careful of the mounting plate interfering with your vacuum lines for the throttles. The fitment can be a bit tight here. I bent the bottom mounting tabs for the filter itself outward at a slight angle to make putting the filter on a bit easier. The 100mm stacks make this a painful process depending on the angle of the set of ITBs you chose.
Now to set your idle. This is where we will start after you’ve gotten your car running on a decently stable tune. For me, I chose the hard route and do this with the idle adjustment screw in the center of the throttles, pictured below. Make sure you do not mess with any of the other screws here, and use plenty of blue loctite on this bolt. This will mechanically hold the throttles open to let air in for startups and so on. I recommend setting this kind of high at the start until you get your tune smoothed out. Make sure your AFR isn’t running lean; if it is, throw some fuel at the cells its idling at via the Fuel VE table, we want it around 14.7. This is where we use that fancy carb balancing tool. I’m going to make sure to remind you NOT to touch any of the adjustment screws for the linkage, the only one up top you should be messing with is the idle adjustment screw.

Look at the flat head screws on the flat surface near the velocity stack mount points. Those adjust the airflow around the throttle blades. We’ll use those to make sure that all the throttles are pulling equally. Once that’s done, we can move onto the ignition table. Set up the ignition table with the same intervals as mine.

You see those blue cells? Those are my idle cells. We’re going to use ignition timing and that adjustment screw on the throttles to dial in our idle, this will also be a part of the startup procedure tuning. We want the engine to crank, start, and idle without touching the throttle pedal. I like to shoot for around a 1000-1100 idle at operating temperature, and there is a reason for this. When you cold start the car, the idle is going to be a bit lower, around 800. That’s without any accessories running to create drag on the alternator. As you turn on more accessories such as headlights, wipers, radio, power windows, hazards, things of that nature, it’s going to drop the idle, and without an idle air control valve we can’t compensate for that on the fly, so we’re hard setting the idle higher to have enough wiggle room for all the accessories to be on without the idle dropping too low. Think of when you’re driving on the freeway at night in a downpour, your headlights are on, your wipers on max, fan blowing at full speed, radio on, you want to be able to push in your clutch without it dying. Another way we can combat this is by raising the ignition timing on the cell below our idle cells, which will help with startup and has a secondary function to combat the idle drop as more accessories are on. You can see an example of this on my table where at 0.0-800 it’s 23.0.
Now that the car is running you can start tuning it properly, be careful with your ignition timing. The base tune you loaded will be pretty conservative with timing, and with fuel. As you add more timing you’re going to need less fuel to a point. Once you are happy with your ignition timing table then I would run Autotune for your fuel table. Go drive it, or Autotune won’t work.

These are the settings I like, it gives me a stable idle at 14.7, and a slightly leaner cruise to save on fuel, when I lean into the throttle we start to dump more fuel in, to a WOT AFR of around 13.0. In the research I’ve done, an N/A motor seems to like this fuel ratio for maximum power. And my engine seems to agree, so that’s what its set at. With these settings, if I’m cruising on the freeway, I’m getting around 29-32 mpg, and making around 155-160whp via the virtual dyno. My engine is not stock, its an NB1 head (BP4W), shaved, with a Mazdaspeed cam, and a VVT bottom end (BP6D). Tuned for premium.
My idea behind the way I built my setup was longevity and enjoyability, not power. All the power comes from the head work and compression. The bottom end is the stock VVT one, unmodified. The head has been shaved to bump compression rather than changing pistons. This way I can maintain the stock reliability of the bottom end, and the power of higher compression. When something goes wrong, I find a new OEM bottom end, put my head on it and I’m back at the same power figure with minimal work and expenses. And, its worked for me. Everyone has a different idea on how they want to do things, this is just mine.

Conclusion
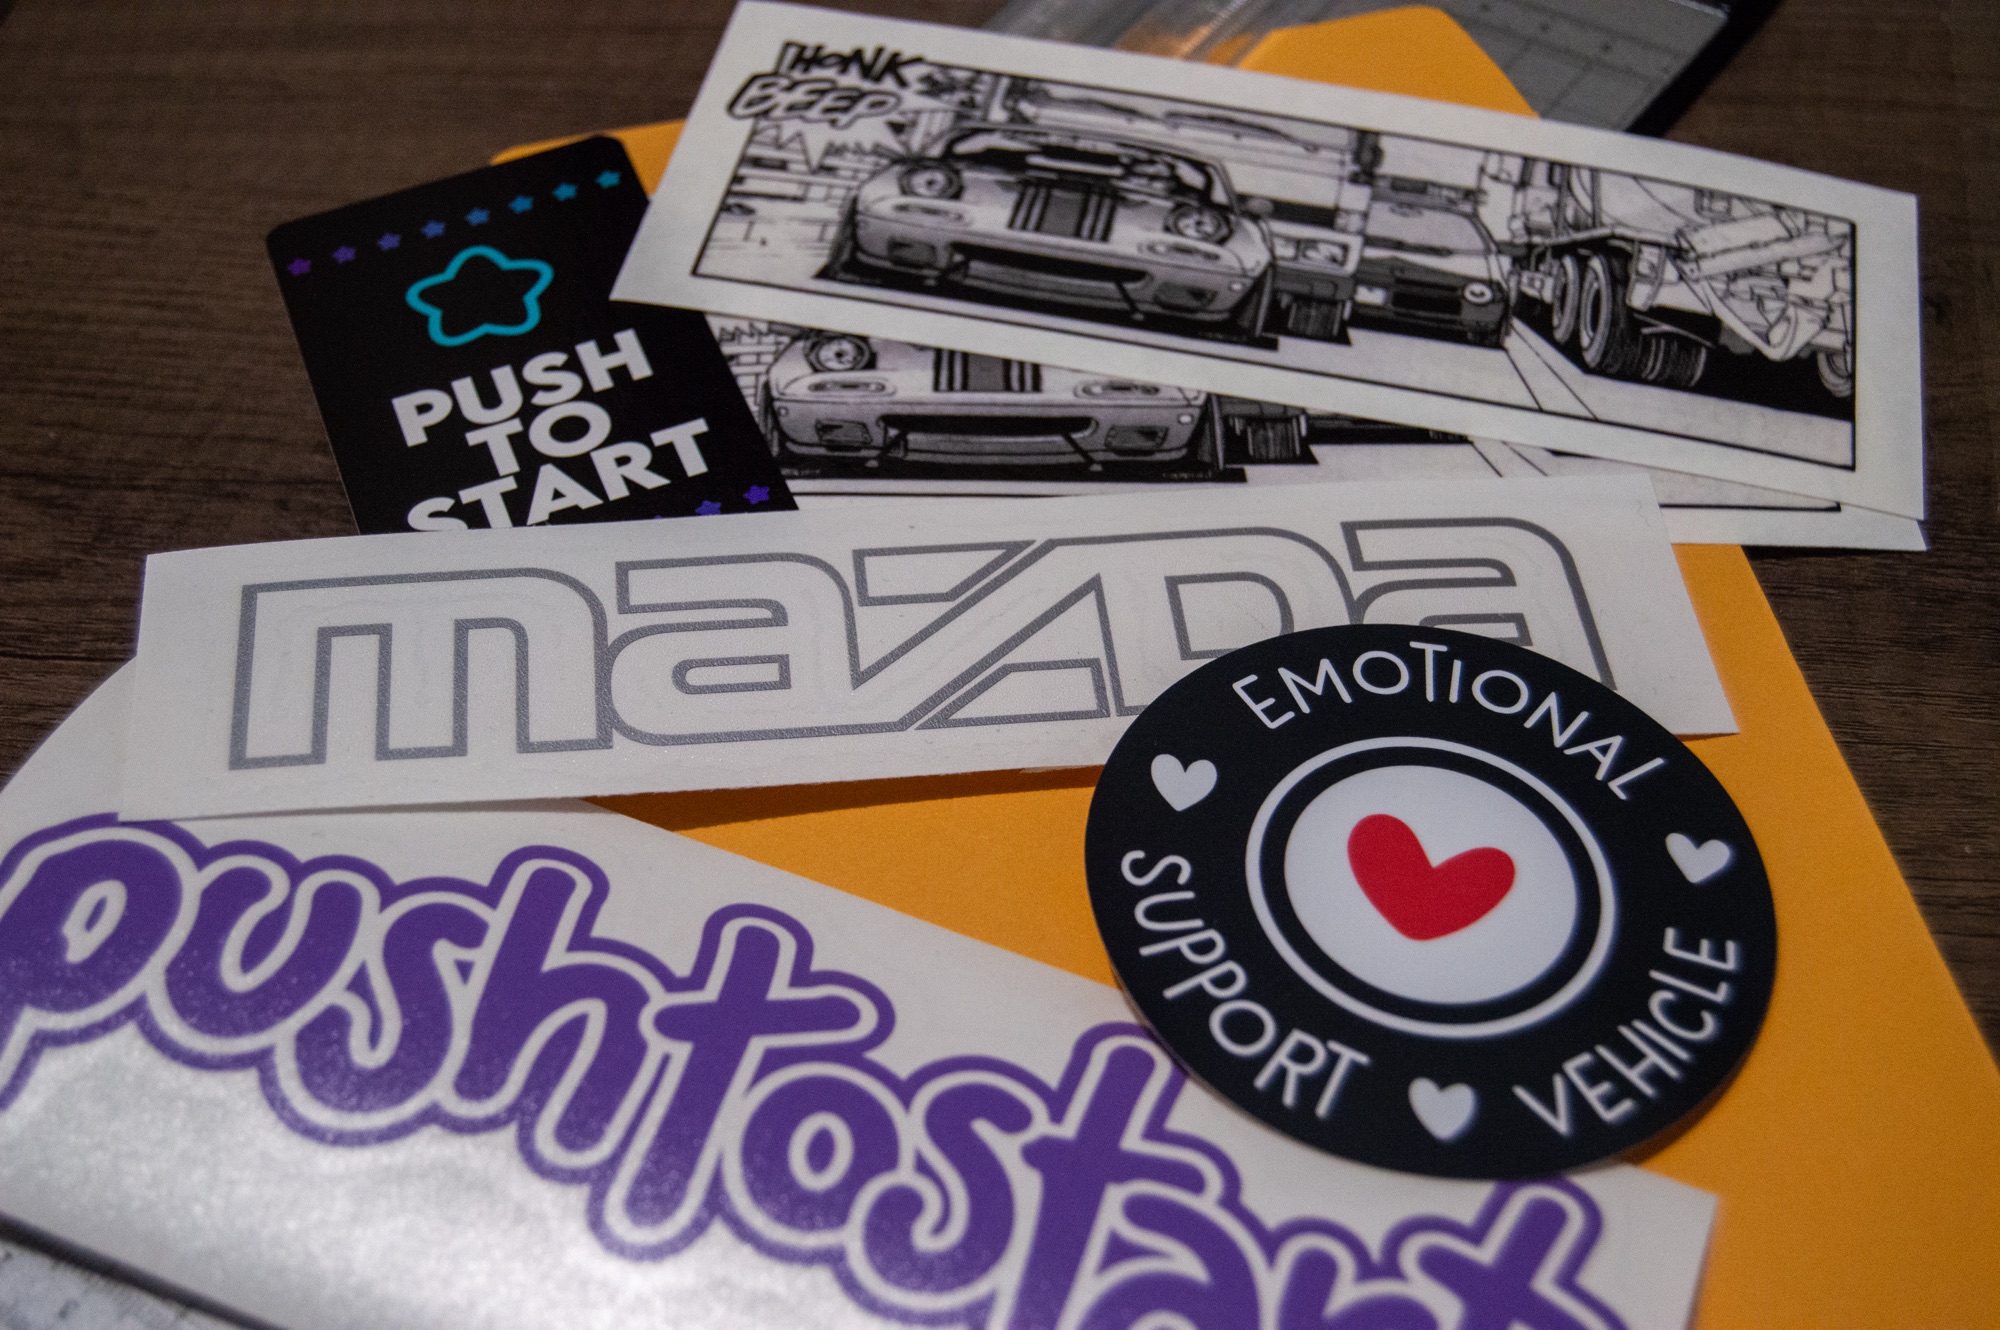
All in all, I enjoy my ITB conversion. It runs and drives comfortably, and yours can too with the right tuning and settings. They are a ton of fun to drive, and one of the big upsides for me is how Spartan the engine bay has become. I like the lack of complexity. I’m okay with my car being “slow,” if I wanted something faster I wouldn’t have bought a Miata to begin with. It feels right for me, the way I wanted to enjoy my car, the roadster vibe. That’s why I went down this road. It was hard, but rewarding. I learned a lot and hopefully this write up helps you even a little bit to either realize this isn’t for you, or prevents you from getting stuck in the spots I had. Thanks to everyone who contributed on IG, and to Andi at Push To Start for hosting my ramblings. See y’all on the road or on the side of it.

Leave a Reply