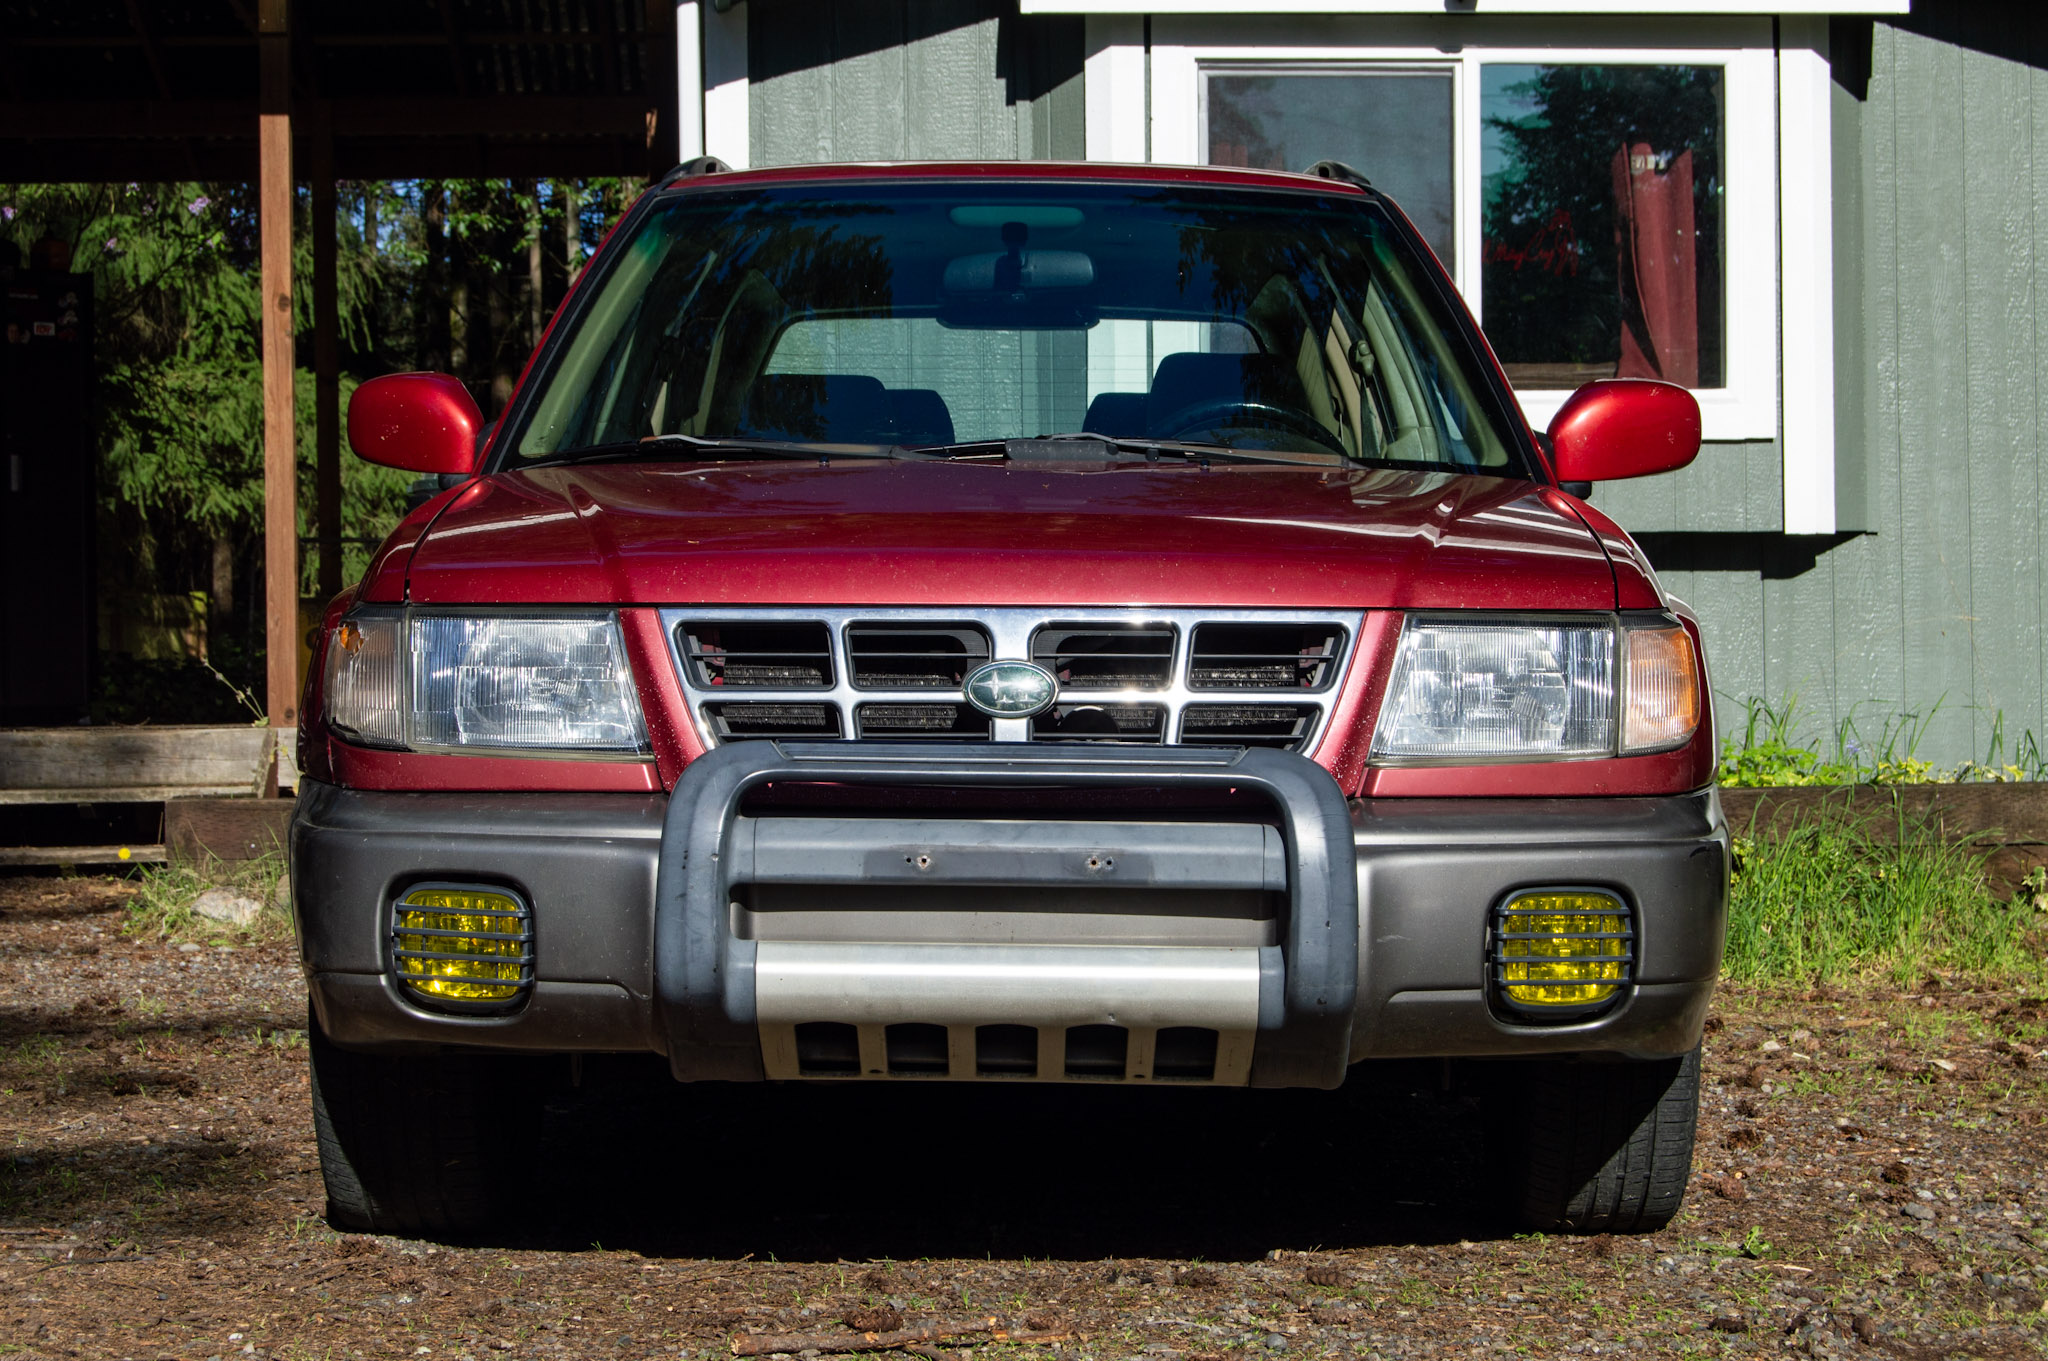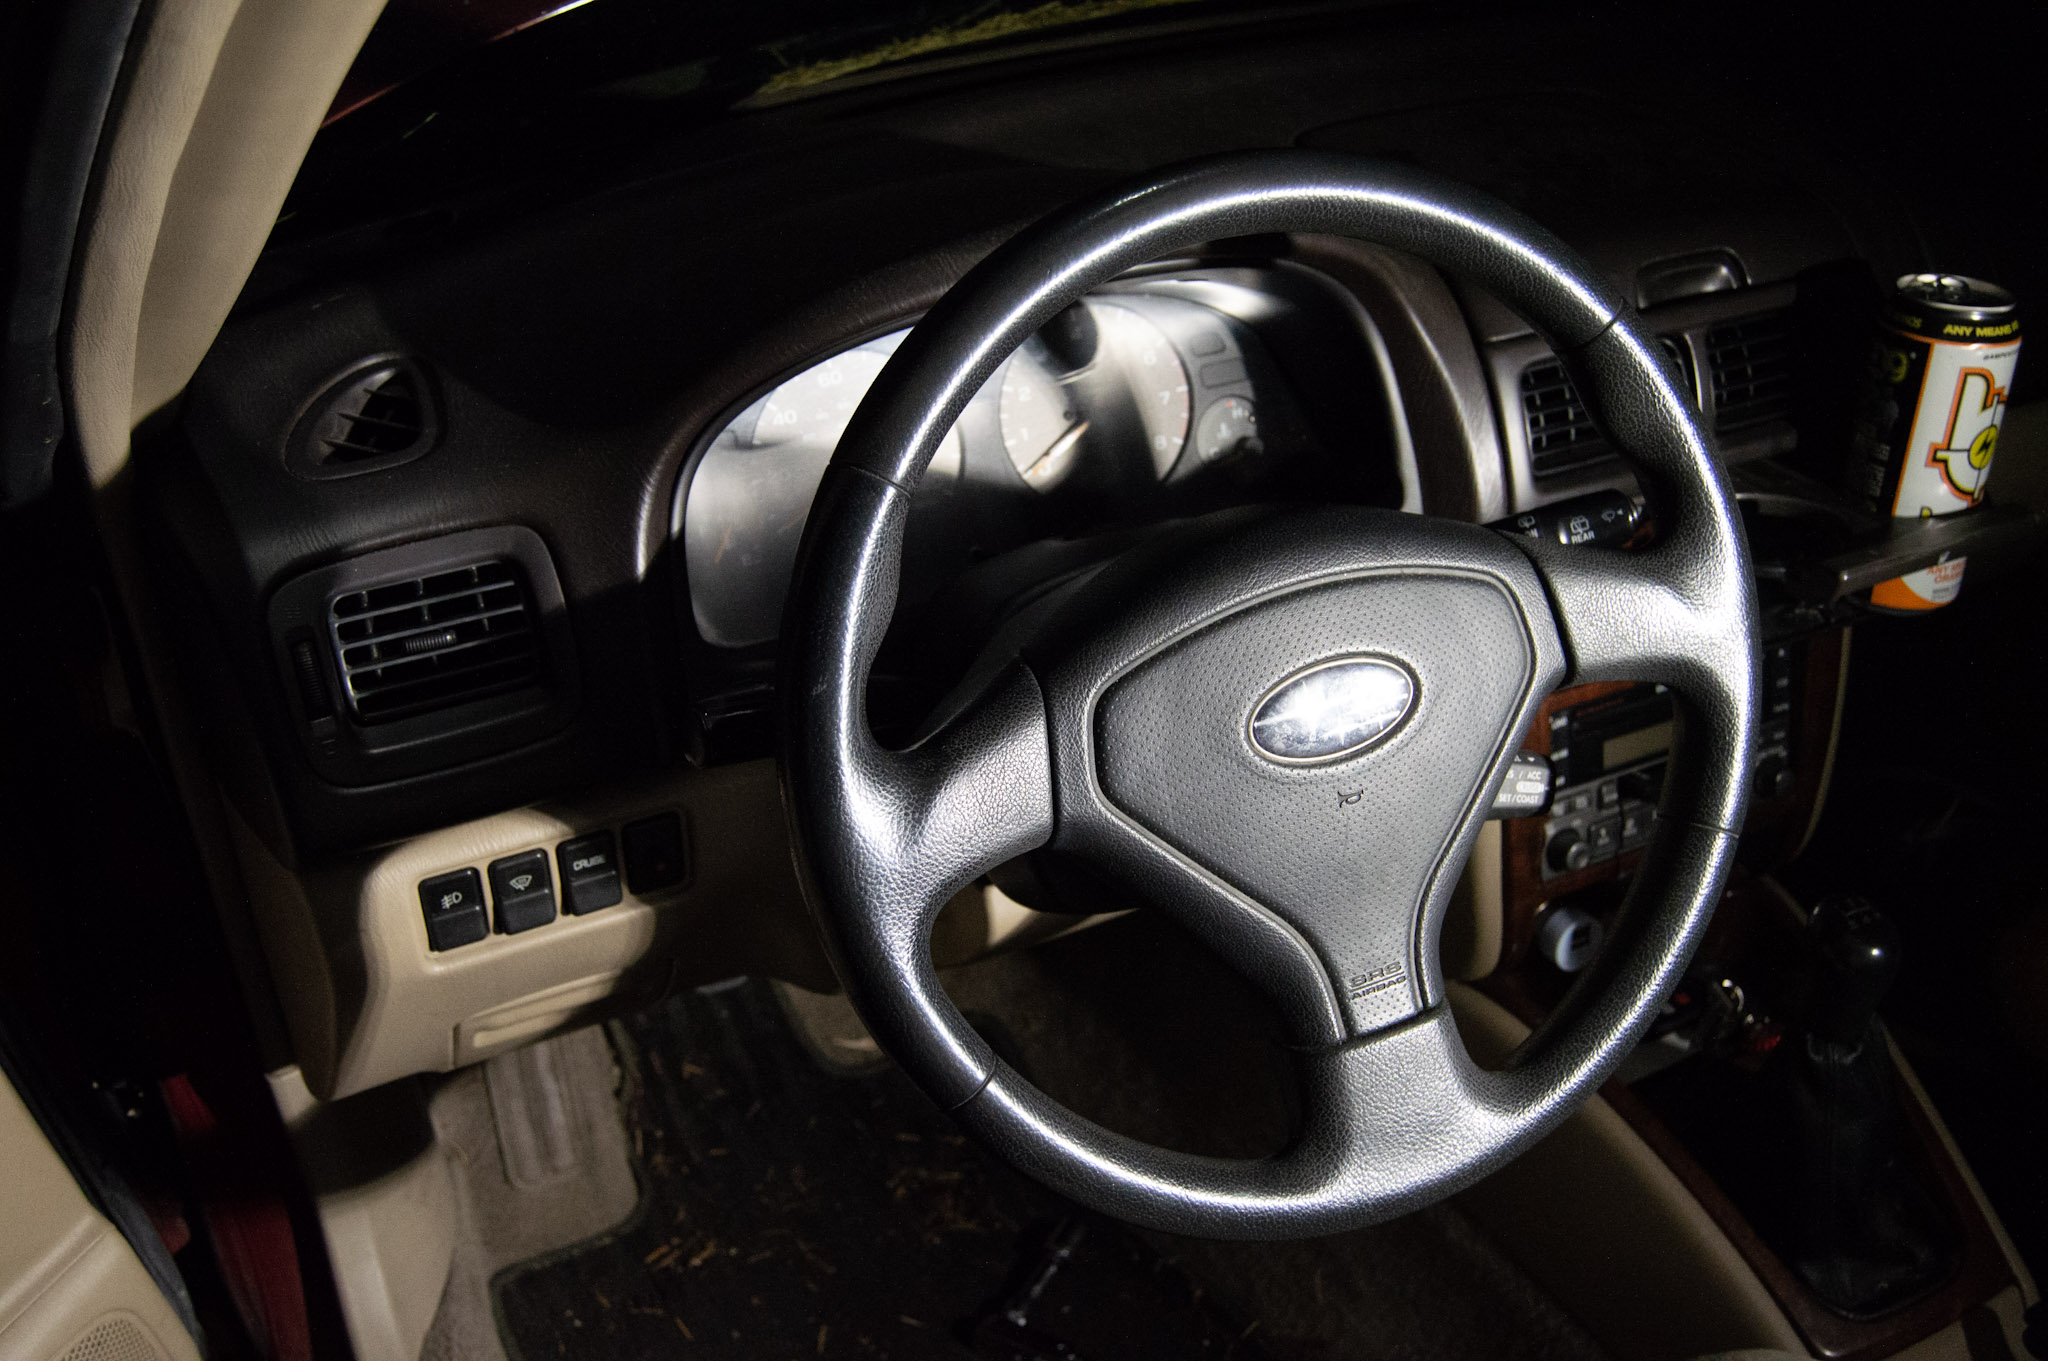
I’m a big fan of easy modifications. Theoretically this mod is easy, as the steering shaft splines are the same. But as all easy things go, it still needed the snips and soldering iron to do it the right way. But here is a general write-up on putting a SG steering wheel in your SF! Of course, disclaimer, this may be different from wheel to wheel, so verify what you have first before you blame me haha.


My Forester is a MY2000 S. The steering wheel that I originally pulled is from a MY2006 XS. Jesse did this same swap in his Impreza MY2000 with a wheel from a MY2003 X. I can confirm that the pre-facelift and post-facelift wheels are different despite looking externally identical, so keep that in mind. Subaru began implementing CAN bus systems into their wiring in late 2005, so you will need to find an earlier model Cruise Control Stalk in order to retain the same functions.
Basically, if you’re putting the wheel into an older car, you need the green connector with the five wires for the cruise control stalk. I have photos of what to look for specifically further in the write-up.
> First things first: disconnect your battery. You might think that’s obvious, but I’m serious – unplugging your airbag while your battery is connected has a non-zero chance of causing the charge to detonate, and you really don’t want that. Also, you’ll be constantly honking your horn while you try to disconnect the horn pad, so there’s that too. LOL
You’ll need a T30 torx to undo your horn pad. It is the same torx bit for both wheels, and there is one on each side of the horn pad. Loosen those, and the horn pad will pop off. The bolts themselves are captive (or supposed to be captive), so don’t worry about them trying to fall out. They shouldn’t.


Be careful when unplugging everything, it isn’t the easiest. Maybe get a second set of hands to hold the horn pad for you? In the SF Forester, you’ll only have two connectors: one for the air bag, and one for the cruise control stalk. The SG has either three or four, depending on pre- or post-facelift: one for the horn, one for the cruise control, and either one or two for the air bag. They are all easy connectors to disconnect.


The steering wheel nut is a 17mm. When you get it loose, don’t fully unthread it – it’s easier to remove your steering wheel when you leave it on, trust me. If you don’t have a puller, just firmly grasp the left and right side of the wheel and wiggle it forward and back. Then grip the top and bottom and wiggle it forward and back. Don’t rotate the wheel – you’re not trying to turn, you’re trying to pull. If you leave the nut threaded on just a bit, when the splines finally break free then you won’t smack yourself in the chest with your steering wheel. Then you can remove the nut and pull the wheel all the way off.


I hope you marked where the up position is on the splines before you pulled the wheel, if you didn’t remove it when it was straight.
Anyway, here’s a side-by-side of the two wheels, and part of the reason for the upgrade. I mean, look at them. The three spoke style is way better than the four spoke, and the three spoke is smaller diameter with a thicker grip area. It feels less like a boat.


The air bag explosive is held on by 4x 8mm nuts. They pop off pretty easy. Turns out the explosive from my 2000 does not fit in the pad of the 2006 though, and the two-plug airbag explosive is, as far as I know, incompatible with the earlier chassis. I had to go back to the wrecker to grab the single-plug (two-wire) explosive and rewire it.


A majority of my hiccups with this install came from the fact that I am transplanting a post-facelift SG (MY2006+) steering wheel into my SF.
Now, you don’t have to remove the cruise control stalk from either wheel to get this next part done, but if you decide to do so, here’s how: The SF stalk is easiest to remove when the horn springs are removed. You don’t have the remove the horn springs on the SG wheel though, but I highly recommend removing the entire rear plastic housing. This can be done with the wheel installed in the car (I tried it), but it is a lot easier with the wheel removed (as shown).


If it was as easy as un-installing one stalk and re-installing the original stalk, it wouldn’t be worth writing about, now would it? You’re going to have to cut the plugs and either solder or crimp them together to get proper function. If you don’t care about cruise control, then stop right here and just install the new steering wheel. If you do, take a look at these photos and continue on.


The wiring for the cruise control stalk is surprisingly straightforward. The SF only has three wires, right? A green-black, a yellow-black, and a white-red. You can use a voltmeter to determine what is what, but the basics of it are: green-black is 12V constant, yellow-black is Res/Acc (Resume Accel), and white-red is Set Coast. See below a little deconstructed SF cruise switch to understand the inner workings just a little bit more. It’s very simple, and works just by bridging the gaps between the board traces or pads. Each wire is connected to exactly what it is supposed to do, so when you bridge the gaps it makes the selection by sending a signal out that wire. If that makes sense?


Now the long and short of this wiring is match the green-black wires, and swap the white-red and yellow-blacks, and you’ll be ready to go, but if you like to understand wiring diagrams and things then here is some more information for you to digest, and also easy photos:


Now you might be wondering what to do with those other two wires from the SG plug? Just tuck them up and into the harness, because they’re not connected to the SF now and they won’t be useful anymore. They connect to the button on the end of the SG cruise stalk, which on the SG is used to activate the cruise, but on the SF you use the button on the dashboard to activate the cruise. I’m sure someone has figured out how to swap the clockspring or find unused traces or wires in the SF clockspring to use the button on the stalk instead of the dashboard, but I haven’t found it or tried it myself. This swap will still require using the original dashboard button to activate your cruise, and makes the button on the stalk useless.
SF WHITE CONNECTOR:
Green/blk: Cancel, 12v constant, Horn
Yel/blk: Resume accel (pos. trigger)
White/red: Set coast (pos. trigger)
SG GREEN CONNECTOR:
Black: Cruise On/Off
Yellow/blk: Set coast (pos. trigger)
White/red: Resume accel (pos. trigger)
Green/blk: 12v constant, Horn
Red: Cruise On/Off
SG WHITE CONNECTOR (CANBUS):
Red: Pos. trigger
Green/blk: 12v constant, Horn
White/red: Pos. trigger


And here’s a deconstructed CANBUS Cruise switch, which shows a little better why it doesn’t quite work (by default) when wiring to the non-canbus computer. You can definitely make it work by removing wires from the board and redirecting them and the built in resistors, but it went a little over my own head pretty quickly so I just went and got the easier to understand stalk. I’ll show you.


A very important thing that I didn’t think about when I originally did my wiring: don’t forget to retain the horn wire spade connector! That extra green-black wire from either harness? That is your horn wire, and without it you won’t be able to go Beep Beep at people. I messed up when I originally spliced my harnesses and clipped the horn wire, so don’t make the same mistake as me.


When you’ve got your harnesses built, make sure you tuck them back into the wheel nicely so that nothing gets pinched. Reinstallation is the reverse of removal, so pop that horn pad back in, torx it down, and don’t forget to plug your battery back in. Go for a test drive to make sure everything works.
And, that’s about it. To be honest, it’s a really simple swap, and I don’t regret it!


A little tl;dr: Swapping a MY2003-2005 Subaru steering wheel into your MY2002 or older Subaru is very easy! A MY2006+ wheel will fit but you will need a MY2003-2005 cruise control stalk and matching airbag explosive in order to retain those. If you don’t have Cruise, then it doesn’t matter, and some MY2002- explosives will fit the MY2003+ airbag opening but I cannot guarantee all options will fit.
This swap is not Forester specific, as we did the same swap in an Impreza wagon with the same results.