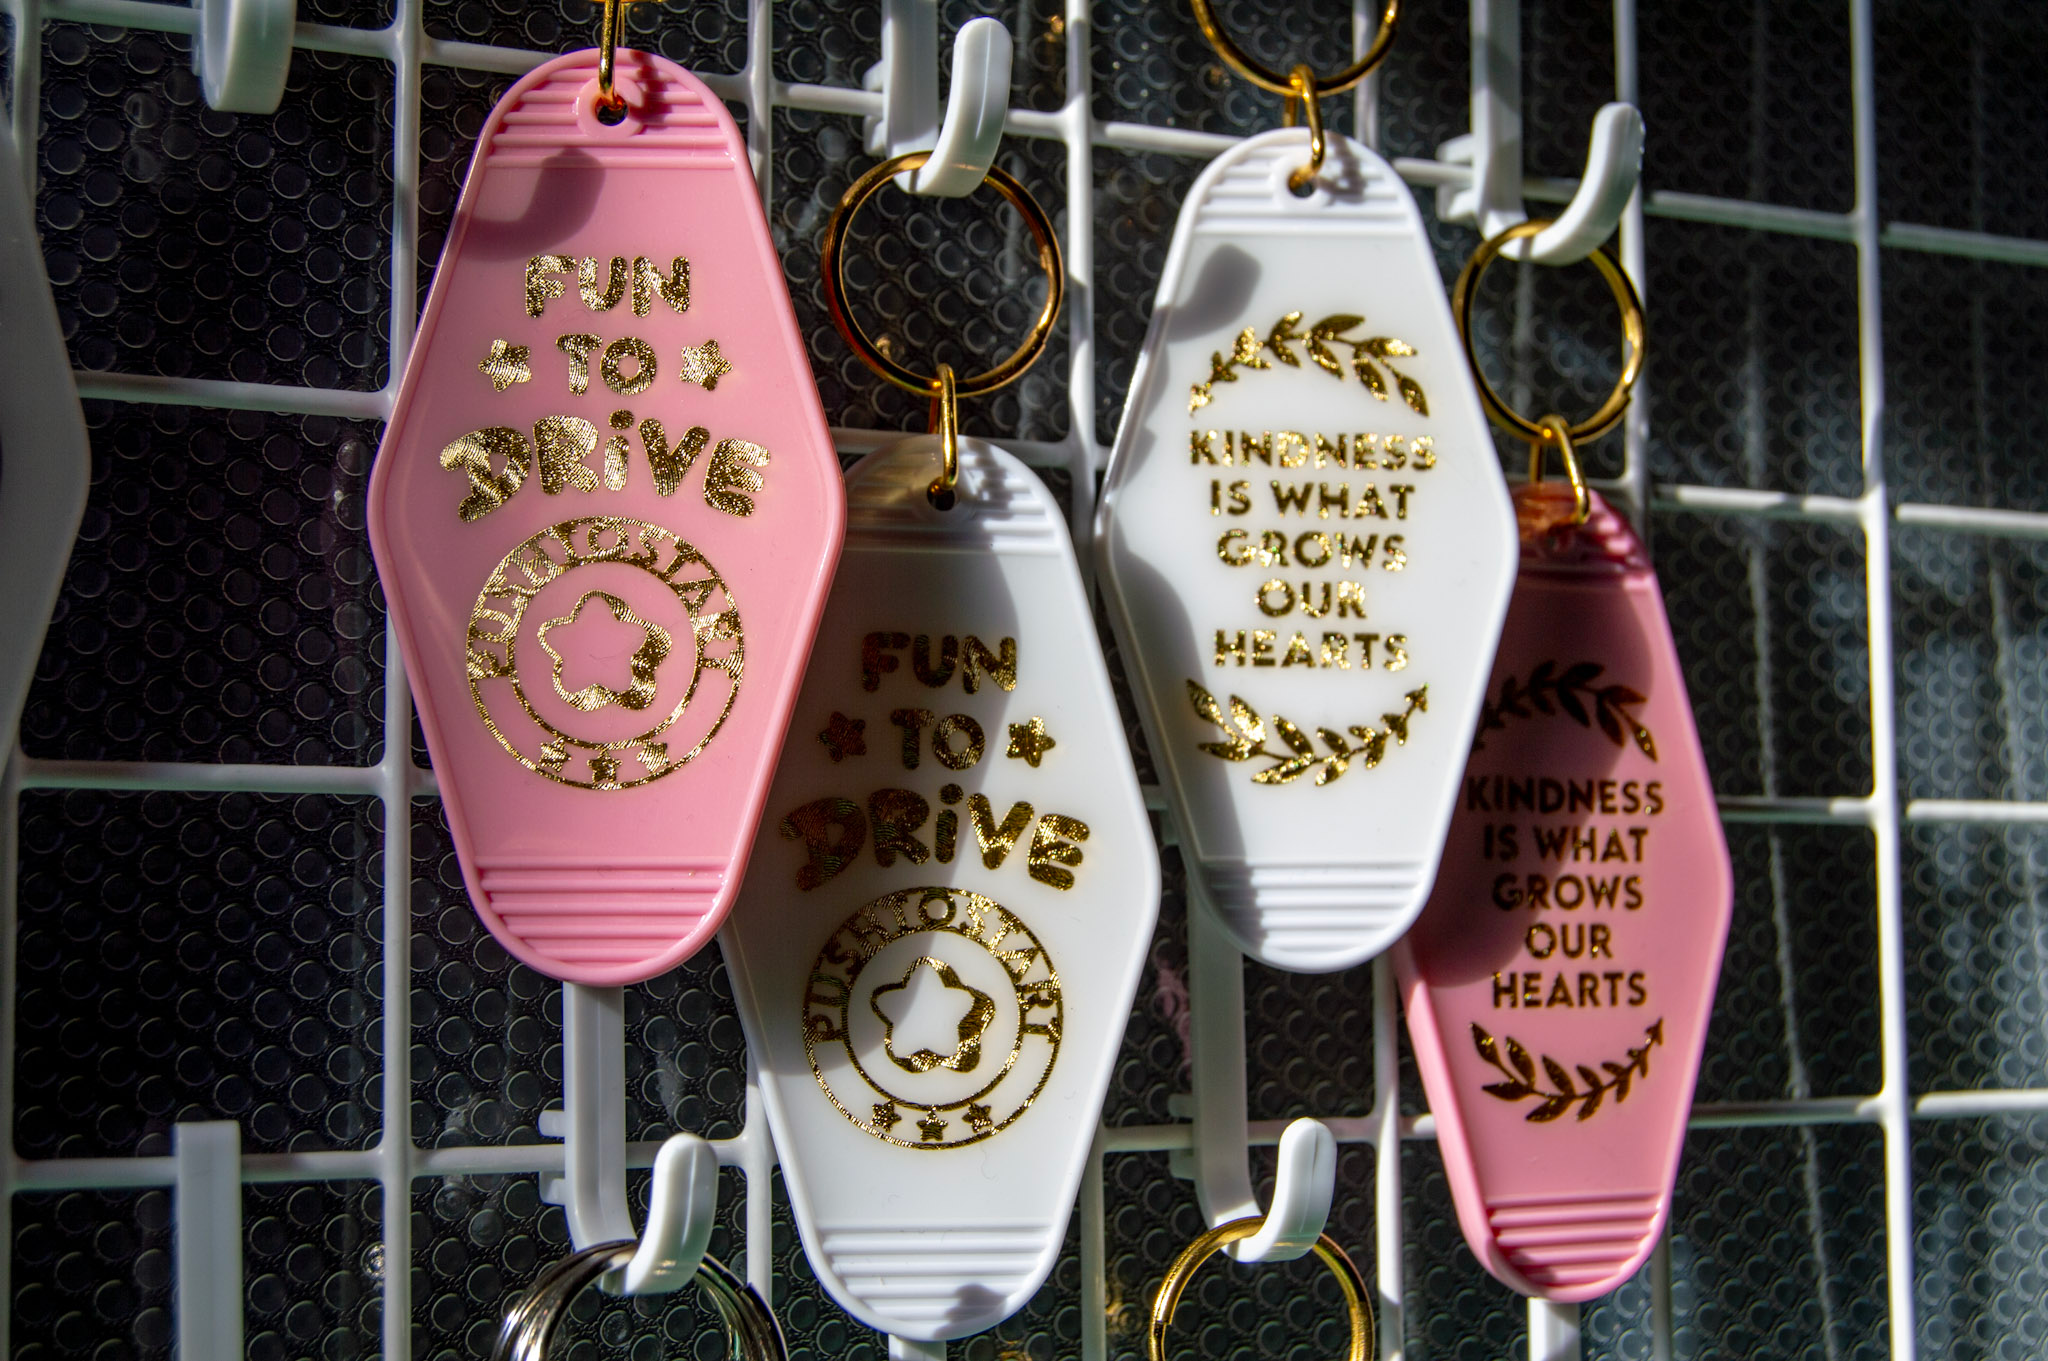
The store has a new item that I personally have wanted to include for some time now: customized hotel-style key tags! They are not printed like other tags you might purchase off etsy, but hand-laid vinyl with a resin top layer for durability and longevity. I have sent a small handful of tags out to certain individuals to test for me (use, abuse, the works), and am pleased to say that they are exceeding my expectations.
So how do they work? Here’s a little deep-dive into the process, since I am not one to gatekeep, and would like to express full transparency. Each one is hand made using a pre-existing blank.


I have to dismantle every tag to properly lay the vinyl and also pour the resin, otherwise it blobs up and doesn’t lay the way I want it to.


Next, I cut and lay the vinyl. Each side is individually laid. I don’t have a jig for these (yet), so I have to line up each one at a time. I make these all in batches due to the nature of resin as well, since only making one is wasteful. So shown above are a batch of freshly laid tags ready for resin.


I mix the two-part resin in a little plastic cup according to the directions, and then use a little stick (similar to a chopstick) to help spread around the resin. This part is time consuming, making sure the entire face is coated without leaving any blemishes or dimples. It’s similar to the meniscus of water in a cup or on the surface of something, like how a droplet of water bubbles – if I don’t spread it to touch the entire surface properly, then it won’t “flow” to even itself out as it cures.
After evening out the resin across the entire layer of the tag, I then go in with a toothpick and a hair dryer to extract bubbles from the resin. The mixing process naturally introduces bubbles, but the heat from the hair dryer causes the bubbles to expand and rise, and the toothpick is necessary to help pop or release the bubbles. I also use the toothpick to remove any stray dust and cat fur that might get caught in the resin, because that’s a big no-no. I like to make sure that every tag is blemish-free, so no dimples, no dust, no cat fur, no hair, etc.


This resin that I use soft cures within an hour but takes a minimum of 24 hours to fully cure to the touch. I have to do both sides, meaning these tags take over 48 total hours to produce.


And then ta-da! When they’re all finished curing, I attach some new split rings – instead of the original triangle style, they now get an updated 2-ring combo for maximum retention. Then they get a light polishing to remove any sticky fingerprints of mine, and a little photoshoot, and then I package them up to ship away! So while each hotel tag might not be individually made just for you, they are all still made with heart and care. And lots of patience.